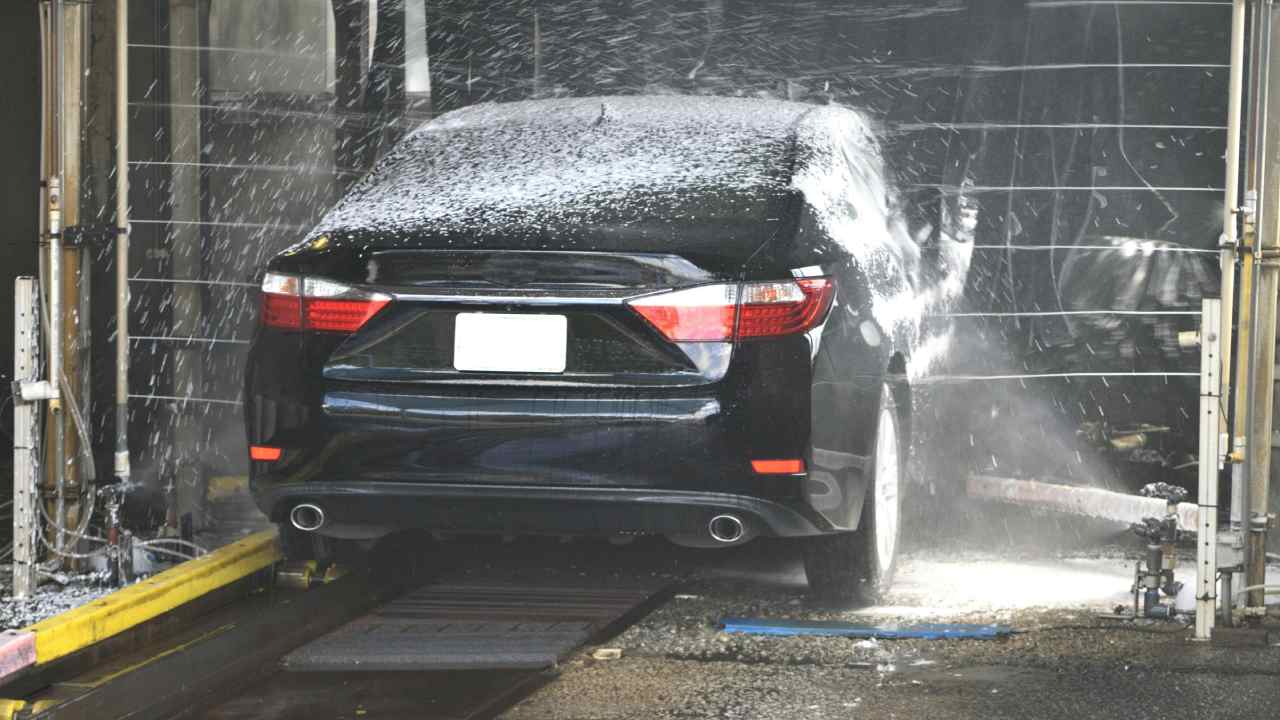
Are you tired of shelling out big bucks at the professional car wash every week? Or perhaps you’ve been left unsatisfied with the service, noticing missed spots and watermarks on your beloved vehicle? If so, it’s time to consider washing your car yourself! Not only will a DIY car wash save you money, but it also allows you to give your car the personal touch it deserves. In this guide, we’ll walk you through every step of the DIY car wash process, from choosing the right location to ensuring a spotless finish. Whether you’re a car enthusiast, a homeowner, or a DIY lover, this guide is for you.
Essential Tools and Materials for DIY Car Wash Success
Before you start washing, gather these essential tools and materials to ensure an effective clean. First, you’ll need a good quality car wash soap. Unlike dish soap, car wash soap is designed specifically to clean your car without stripping away its wax coating. Pair this with a microfiber wash mitt, which is gentle on your car’s paint and helps prevent scratches.
Next, a couple of buckets are necessary for the two-bucket method, which we’ll expand on later. This involves one bucket with soap and water, and another with clean water for rinsing your mitt. A grit guard is also recommended as it helps trap dirt at the bottom of the bucket, keeping it away from your mitt.
Don’t forget a hose with a nozzle to control water pressure, and for the drying process, you’ll need a high-quality microfiber towel or chamois. If you plan on waxing, purchase a good quality car wax and a foam applicator pad. Lastly, a vacuum and an array of interior cleaners will be necessary for the inside of your car.
Finding the Perfect Spot for Your DIY Car Wash
The right location can make all the difference in your car wash experience. First, choose a shaded area. Direct sunlight can cause the soap to dry too quickly, leaving behind unsightly spots and streaks. A shaded driveway or garage is ideal for maintaining a consistent washing pace without the sun drying up your work.
Additionally, ensure that your chosen spot has a clean, flat surface. Washing your car on a gravel driveway or uneven surface increases the risk of scratching the paint. A concrete or asphalt surface is preferred for a smooth washing process.
Lastly, make sure your location has proper drainage and a nearby water source. You’ll need a hose for rinsing, and adequate drainage will prevent water from pooling around your feet as you work. This setup will help you maintain an efficient and enjoyable DIY car wash experience.
Pre-Wash Preparation Sets the Stage
Preparation is key to a successful car wash. Begin by removing any loose dirt and debris with a quick rinse using your hose. This step helps prevent scratches during the washing phase. Pay attention to the wheel wells and lower areas, where dirt tends to accumulate.
Next, check for and remove any stubborn contaminants like tree sap or bird droppings. These can be gently removed using a clay bar or a specialty cleaner designed for this purpose. Doing this beforehand will make the actual washing process much more efficient.
Finally, take a moment to inspect your car for any scratches or damage that may require extra care. This is a good opportunity to identify areas that need special attention, ensuring a thorough and satisfying clean.
Mastering the Washing Process
Now, it’s time to get washing! Start by filling one bucket with car wash soap and water, and the other with clean water. Dip your wash mitt in the soapy water, and begin washing your car from the top down. This technique prevents dirt from being dragged over already cleaned areas.
Utilize the two-bucket method by rinsing your mitt in the clean water bucket after each section. This prevents dirt and grime from being reintroduced to your car’s surface. Work in small sections, ensuring you thoroughly clean every part of the car.
Rinse frequently with your hose to prevent soap from drying on the car, and don’t forget the wheels and tires. A dedicated wheel brush can help remove brake dust and grime efficiently. By following these steps, you’ll ensure a scratch-free, sparkling finish.
Drying and Waxing for a Flawless Shine
Drying is just as important as washing. Use a high-quality microfiber towel or chamois to gently dry your car, starting from the top. This helps prevent water spots and streaks. Be sure to thoroughly dry areas around the windows and mirrors.
For added protection and shine, apply a coat of wax. Car wax acts as a protective barrier against dirt, UV rays, and pollutants. Apply the wax using a foam applicator pad, working in small sections. Allow it to dry to a haze before buffing it off with a clean microfiber towel.
Waxing not only enhances your car’s appearance but also extends the life of your paint job. Regular waxing keeps your car looking newer for longer and makes future washes easier by creating a slick surface that dirt struggles to cling to.
Tips for Interior Cleaning Like a Pro
Don’t forget about the inside of your car! Start by removing any clutter and vacuuming thoroughly, paying attention to the carpets, seats, and hard-to-reach areas. A handheld vacuum or one with attachments works best for this task.
Next, clean the dashboard, console, and other surfaces with suitable interior cleaners. For leather seats, use a leather cleaner and conditioner to maintain their suppleness and prevent cracking. Fabric seats can be cleaned with a fabric cleaner, removing stains and odors.
Finish by cleaning the windows from the inside using a glass cleaner to achieve a streak-free shine. With these tips, your car’s interior will be just as pristine as the exterior, ensuring a comfortable drive every time.
Maintaining Your Car’s Appearance
Regular maintenance is essential to keep your car looking its best. Establish a washing routine every two weeks to prevent dirt buildup and protect your paint. Consider a monthly wax or sealant application for continuous protection against the elements.
Additionally, keep a set of detailing supplies in your car for quick touch-ups. A microfiber cloth and a bottle of spray detailer can be invaluable for removing bird droppings or smudges before they become permanent.
Lastly, monitor your car for signs of wear, such as chips or scratches, and address them promptly. By staying proactive, you’ll maintain your car’s appearance and enjoy the pride of a well-kept vehicle.
The DIY Advantage
By choosing to wash your car yourself, you’re not only saving money but also gaining the satisfaction of knowing your vehicle is well-cared for. A DIY car wash allows you to pay attention to the details that matter most to you, ensuring a clean you can be proud of.
Engage with your car and personalize your washing routine to suit your preferences. Over time, you’ll develop techniques and shortcuts that make the process enjoyable and rewarding. And remember, each wash is an opportunity to bond with your vehicle.
Whether for cost-saving benefits or the joy of a personalized clean, the DIY car wash is a valuable skill for any car enthusiast. With this guide, you’re well-equipped to tackle the task and keep your car looking immaculate.
Wrapping Up the DIY Car Wash Journey
In summary, a DIY car wash offers numerous advantages, from saving money to providing a personal touch. By following the steps outlined in this guide, you’ll achieve professional-level results in the comfort of your own home. Start by gathering the necessary tools and finding the right location, then master the washing, drying, and waxing process for a perfect finish.
Regular maintenance and interior cleaning ensure your car remains in top condition, prolonging its lifespan and enhancing its value. With dedication and practice, you’ll become a car-washing pro, impressing friends and neighbors alike.
To deepen your understanding of car care, explore additional resources or seek advice from fellow enthusiasts. Connect with online communities or attend car shows to learn more tips and tricks. Enjoy the process and take pride in your beautifully maintained vehicle.

